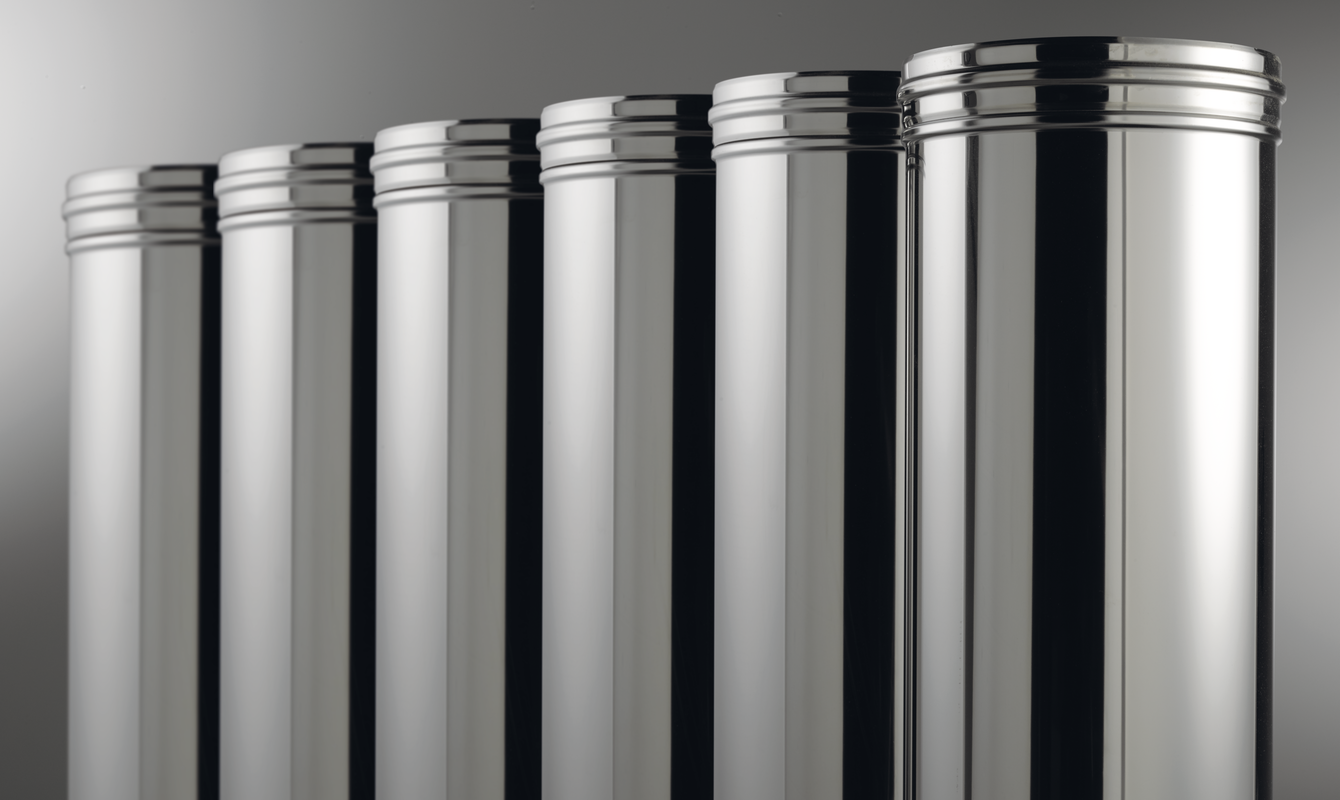
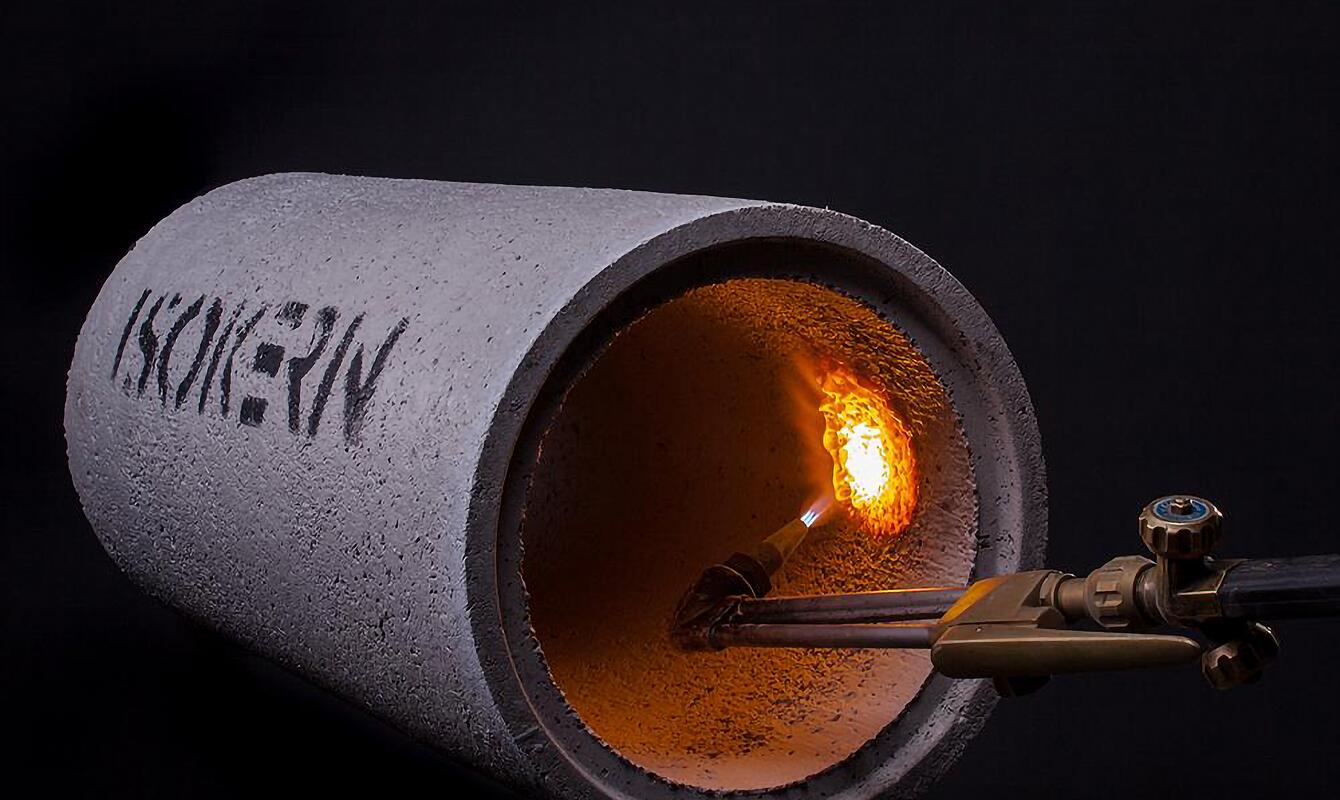
Republic of Ireland:<\/strong>
\nBuilding Regulations Technical Guidance Document J[\/vc_column_text][\/vc_column_inner][\/vc_row_inner][\/vc_accordion_tab][vc_accordion_tab title=”Flue Sizing”][vc_row_inner][vc_column_inner][vc_column_text]It is important to match the internal diameter of the flue with the outlet on the appliance. It should never be less than the outlet diameter of the appliance. The appliance manufacturer\u2019s chimney sizing recommendations should always be followed.<\/p>\nFor open fires with a standard fire opening up to 500mm wide by 550mm high the minimum required flue diameter is 200mm round. For larger open fires, such as inglenooks, dog grate installations or special appliances and stoves designed to operate with a fire opening greater than 500mm x 550mm, the flue size should be at least 15% of the free unobstructed area of the fire opening (including sides if open). Many Decorative Fuel Effect gas fires (DFE\u2019s) that imitate a coal or log burning open fire require the same chimney arrangement as for solid fuel open fires and must be installed in accordance with respective local building regulations[\/vc_column_text][\/vc_column_inner][\/vc_row_inner][\/vc_accordion_tab][vc_accordion_tab title=”Open Fire Option”][vc_row_inner][vc_column_inner width=”1\/2″][vc_column_text]Construction begins by providing a suitable foundation and constructional hearth in accordance with local Building Regulations and site requirements.<\/p>\n
Form the fire opening onto the constructional hearth. 100mm of brick or blockwork must be built around the sides and back of the firechest to comply with Building Regulations.<\/p>\n
Apply Schiedel Rapid HT Cement onto a suitably formed fire gather. Position the flue liner onto the prefabricated gather, female rebate facing upwards. Arrows on each flue liner indicate the directional flow of flue gases. Continue to apply Schiedel Rapid HT Cement to each flue liner, cleaning any access material from the joints.[\/vc_column_text][\/vc_column_inner][vc_column_inner width=”1\/2″][mk_image src=”https:\/\/www.schiedel.com\/ie\/wp-content\/uploads\/sites\/57\/2016\/04\/sih-liners-open-fire-option.jpg” image_size=”full”][\/vc_column_inner][\/vc_row_inner][\/vc_accordion_tab][vc_accordion_tab title=”Recessed Stove Option”][vc_row_inner][vc_column_inner width=”1\/2″][vc_column_text]A suitable cast-in-situ concrete slab lintel must be provided above the fireplace recess. Alternatively you could use suitable pre stressed lintels, for this method a support plate is required under the support block. It is recommended to have a minimum of 600mm length of flue pipe before connecting to the chimney.<\/p>\n
The support block is bedded onto the slab lintel using weak mix mortar. A stainless steel adaptor or a section of Prima Smooth connecting flue pipe is used to connect from the support block to the stove flue pipe. This adaptor is pushed up onto the support block spigot (fibre rope should be used to create a seal).[\/vc_column_text][\/vc_column_inner][vc_column_inner width=”1\/2″][mk_image src=”https:\/\/www.schiedel.com\/ie\/wp-content\/uploads\/sites\/57\/2016\/04\/sih-liners-recessed-stove-option-stainless-steel-adapter.jpg” image_size=”full”][\/vc_column_inner][\/vc_row_inner][vc_row_inner][vc_column_inner width=”1\/2″][mk_image src=”https:\/\/www.schiedel.com\/ie\/wp-content\/uploads\/sites\/57\/2016\/04\/sih-liners-recessedstove-option.jpg” image_size=”full”][\/vc_column_inner][vc_column_inner width=”1\/2″][vc_column_text]Apply Schiedel Rapid HT Cement onto a suitably formed fire gather. Position the flue liner onto the prefabricated gather, female rebate facing upwards. Arrows on each flue<\/p>\n
liner indicate the directional flow of flue gases. Continue to apply Schiedel Rapid HT Cement to each flue liner, cleaning any access material from the joints. The support block is bedded onto the slab lintel using weak mix mortar. A stainless steel adaptor or a section of Prima Smooth connecting flue pipe is used to connect from the support block to the stove flue pipe. This adaptor is pushed up onto the support block spigot (fibre rope should be used to create a seal).[\/vc_column_text][\/vc_column_inner][\/vc_row_inner][\/vc_accordion_tab][vc_accordion_tab title=”Free Standing Stove Option”][vc_row_inner][vc_column_inner width=”1\/2″][vc_column_text]A soot door must be provided below the flue pipe entry to allow for inspection and removal of soot and debris. A suitable wall sleeve is to be used to seal the cavity wall. Any combustible insulation within the wall must be kept away from the single skin connecting flue pipe by at least 1.5 x its diameter. (Example: diameter 150mm x 1.5 = 225mm distance).<\/p>\n
The flue pipe is a push fit over the spigot on the adaptor. Seal off the gap between the flue pipe and wall sleeve with fire proof rope and closing plate.[\/vc_column_text][\/vc_column_inner][vc_column_inner width=”1\/2″][mk_image src=”https:\/\/www.schiedel.com\/ie\/wp-content\/uploads\/sites\/57\/2016\/04\/sih-liners-free-standing-stove-option.jpg” image_size=”full”][\/vc_column_inner][\/vc_row_inner][\/vc_accordion_tab][vc_accordion_tab title=”All options”][vc_row_inner][vc_column_inner][vc_column_text]Apply Schiedel HT Cement onto the male rebate of the flue liner.[\/vc_column_text][mk_image src=”https:\/\/www.schiedel.com\/ie\/wp-content\/uploads\/sites\/57\/2016\/04\/sih-liners-all-options-1.jpg” image_size=”full”][vc_column_text]Position the flue liner on a suitably formed fire gather or support block with the female rebate facing upwards. Arrows on each flue liner indicate the directional flow of flue gases. Continue to apply high temperature cement to each flue liner, cleaning any access material from the joints.[\/vc_column_text][mk_image src=”https:\/\/www.schiedel.com\/ie\/wp-content\/uploads\/sites\/57\/2016\/04\/sih-liners-all-options-2.jpg” image_size=”full”][vc_column_text]Clad the flue liners with a minimum of 100mm suitable masonry. A minimum of 15mm Leca insulation must be installed between the flue liners and masonry. Mix 20 parts Leca to 1 Part cement and a small amount of water. Ensure it is well mixed before using.[\/vc_column_text][\/vc_column_inner][\/vc_row_inner][\/vc_accordion_tab][\/vc_accordions][\/vc_column][\/vc_row][vc_row][vc_column][mk_divider style=”thin_solid” margin_top=”0″][\/vc_column][\/vc_row][vc_row id=”downloads”][vc_column][vc_column_text disable_pattern=”false”]\n<\/a>