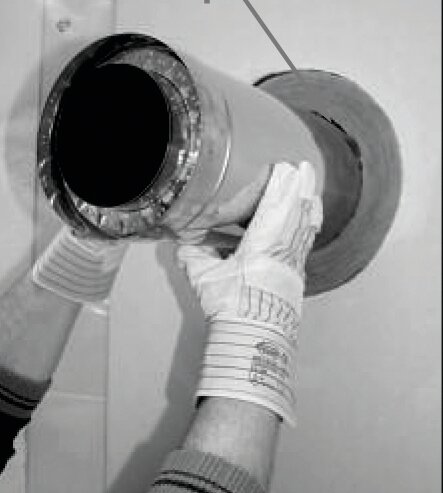
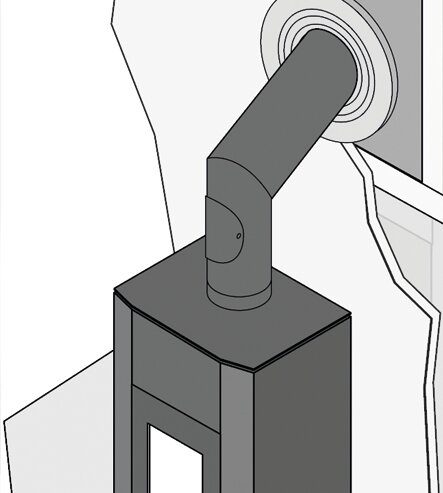
This brief video shows an example of an Ignis Protect installation.
IMPORTANT! Window and door lintels and their support areas, as well as other bearing elements must not be weakened! In case of uncertainty consult a structural engineer.
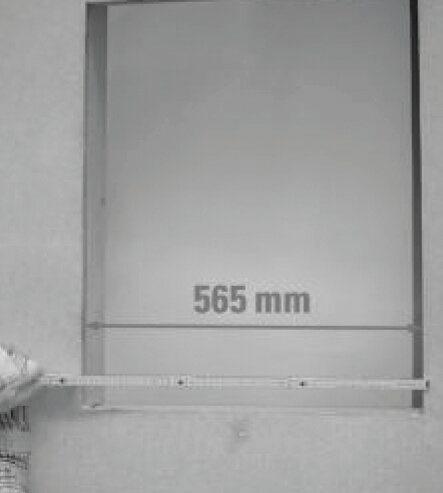
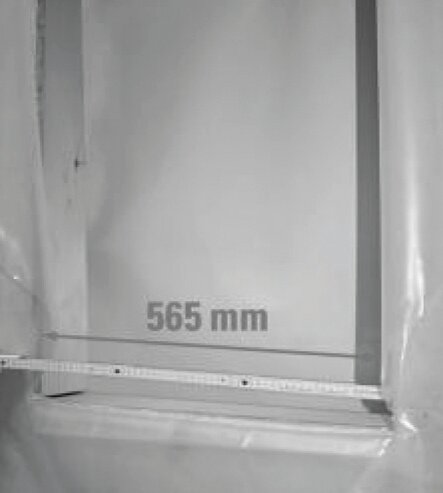
Clear installation width required 565mm.
Clear installation height of 700mm on 90° version,1020mm on 45° version for walls between 100 - 200mm thick, and height 1320mm on walls between 250 - 500mm thick.
TIP The dimensions of the IGNIS- PROTECT wall bushings have already been matched to the standard centre-to-centre dimensions of wooden stud walls!
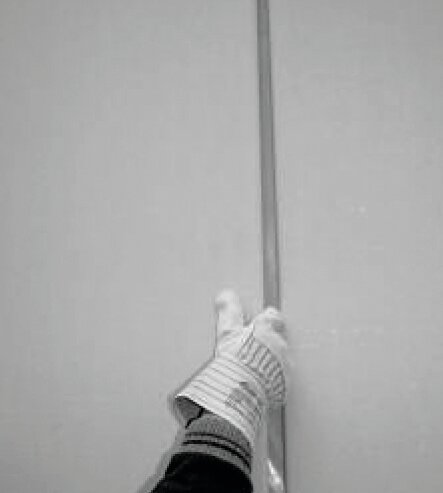
Remove plasterboard.
NOTE: The vapour barrier must not be damaged!
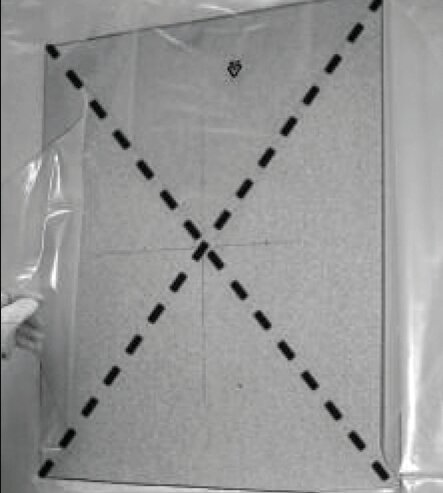
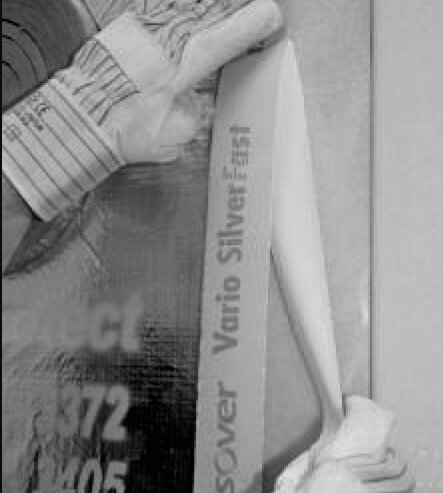
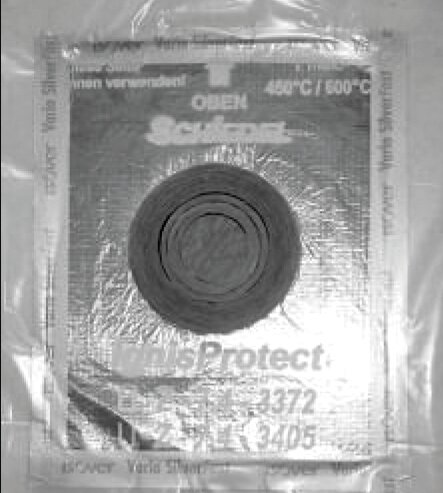
Cut a cross shape in the vapour barrier to the required dimensions
of the opening (see figs. 1. and 2.)
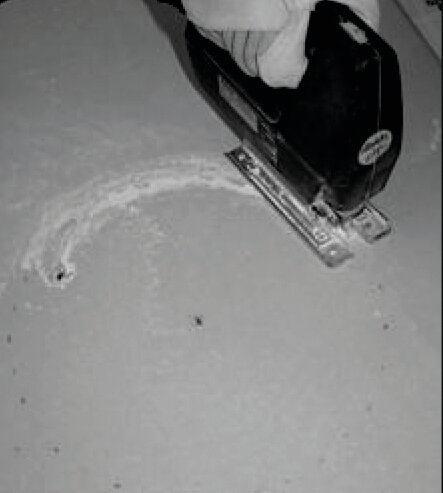
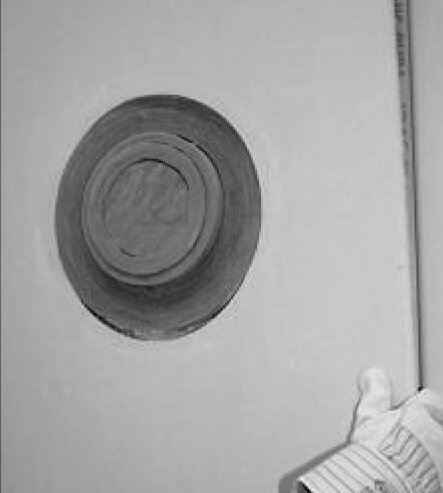
Make the opening. NOTE: Load Bearing elements must not be weakened! IMPORTANT: follow the safe working notes on p.35.
Remove wood fibre board, thermal insulation etc. from the assembly opening.
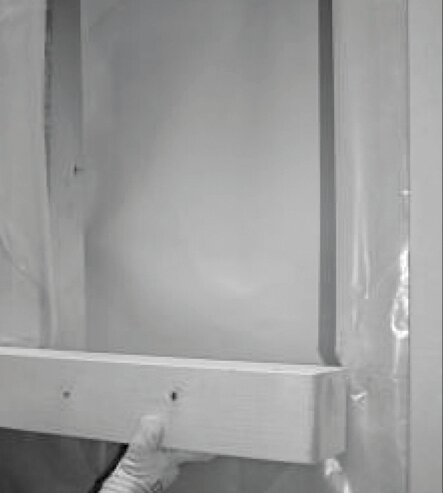
Install the wooden surround for
Ignis-Protect into the studwork.
Check width of the opening: 565mm
NOTE: Ignis-Protect must not be shortened on site!
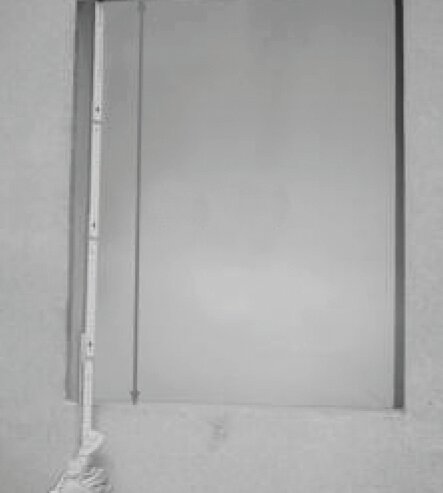
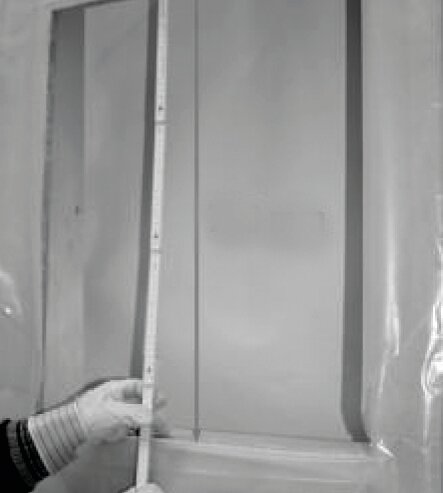
Check height of the opening (see image 2.) NOTE: Ignis-Prot
If necessary correct the opening. Replace the thermal insulation right around the assembly opening in the studwork. IMPORTANT: follow the
safe working notes on p.35.
TIP No gaps should be left in the studwork or the surrounding thermal insulation!
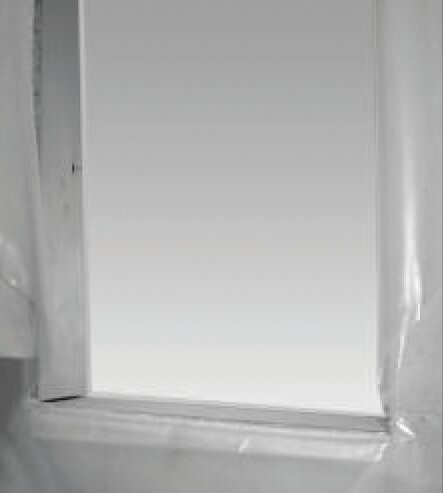
Open up the exterior wall.
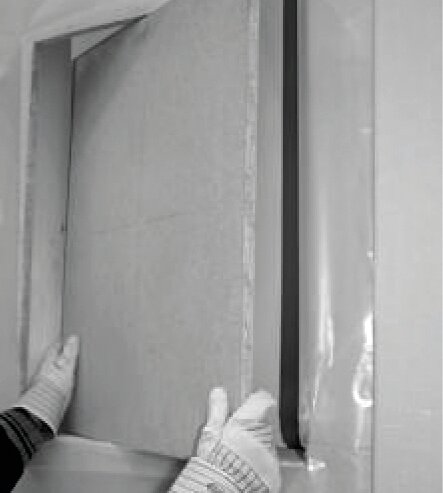
Insert Ignis-Protect so that it fits perfectly. The side laminated with
foil should be facing inwards!
With Ignis-Protect in place, cut away the vapour barrier flush to the edges.
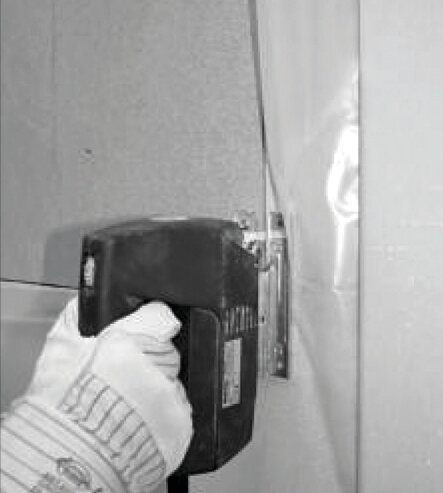
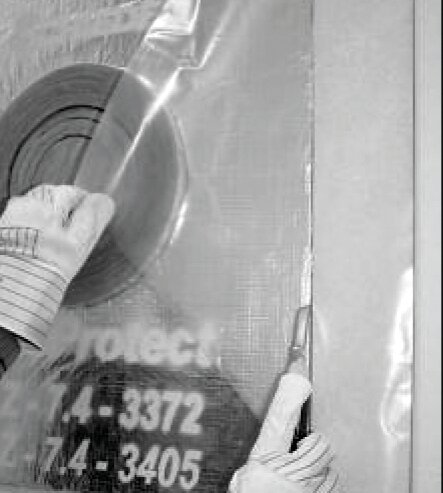
Secure the junctions with the vapour barrier by applying appropriate sealing tape to the foil lamination.
View of the finished vapour barrier sealed tightly all round.
Cut a hole in the thermal board to fit the Ignis-Protect outer protection pipe. IMPORTANT: follow the safe
working notes on page 35.
Replace the prepared thermal board.
NOTE: The vapour barrier must not be damaged!
TIP The Ignis-Protect inner protection pipe and the outer protection pipe are basically designed for 24mm wall planking!
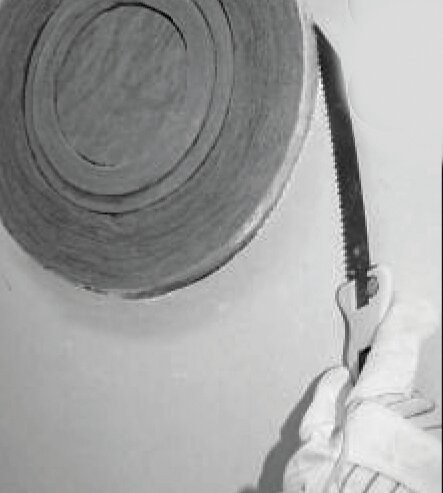
If necessary, shorten the inner and outer protection pipes to be flush with the wall. IMPORTANT: follow the safe working notes on page 35.
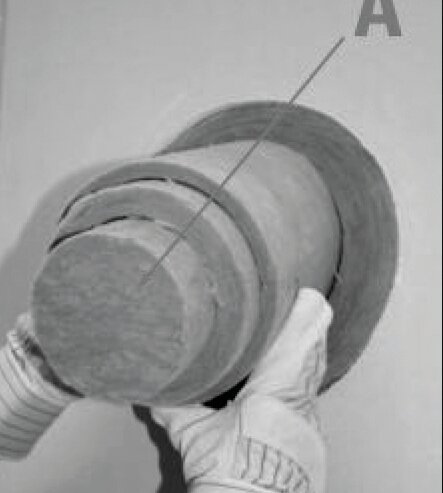
By pulling out the corresponding inner protection pipes and the assembly cap (A) the connection size is adapted to fit the required connecting pipe
or transition piece.
Removable pipe sections to allow interfit with the residential diameters of ICID and ICS
TIP The inner protection pipes and the assembly cap (A) remain in place until the stove connection pipe is in its final position in the Ignis-Protect.
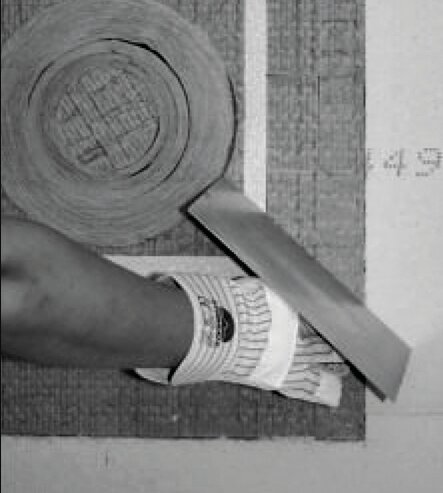
Check that the thermal insulation is flush with the wall.
TIP No gaps should be left in the studwork or the surrounding thermal insulation!
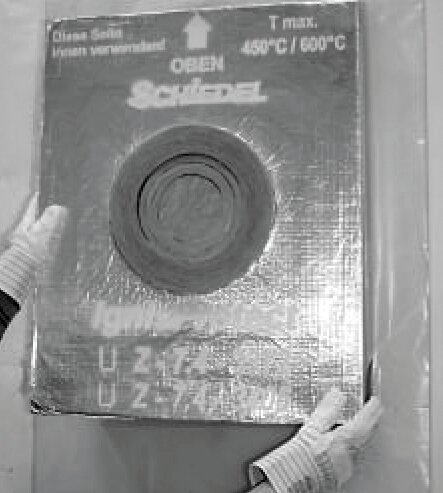
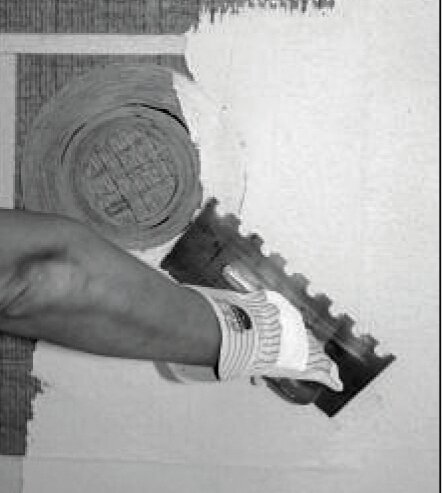
Application of render over the whole surface. NOTE: do not render over the inner protection pipe!
Example of a design with a double-walled connecting flue pipe.
Finished installation.
HEALTH & SAFETY INSTRUCTION
Many building products, including chimney elements are manufactured using natural raw materials which contain proportions of crystaline quartz.
During the mechanical processing of products, such as cutting and drilling, quartz dust is released which can get into the lungs. With higher levels of exposure over longer periods this may result in damage to the lungs (silicosis) and as a consequence of the silicosis disease, to an increased risk of lung cancer.
THE FOLLOWING PROTECTIVE MEASURES ARE TO BE TAKEN
• When cutting and drilling, a P3/FFP3 respiratory protection mask is to be worn.
• In addition, wet-cutting equipment or equipment with dust extraction should be used.
HAZARDS FOR PEOPLE AND THE ENVIRONMENT
Mineral wool insulation materials in this group of products can release fine fibres which may have carcinogenic effects in the lungs. If inhaled, fibres can get into the body and cause damage to health. Larger fibres or fragments of fibres can cause irritation (itching) of the skin, the upper airways and the eyes!
PROTECTION MEASURES AND SAFE PRACTICE
Avoid contact with the skin!
After finishing work, rinse off dust with water and change your clothes. Wash exposed areas of skin thoroughly with soap and if necessary use a skin care product!